Using Image Glyphs in Your Bitmap Font
Add custom images, icons, and symbols as glyphs in your bitmap font. Learn how to import, manage, and optimize image glyphs for game and app development.
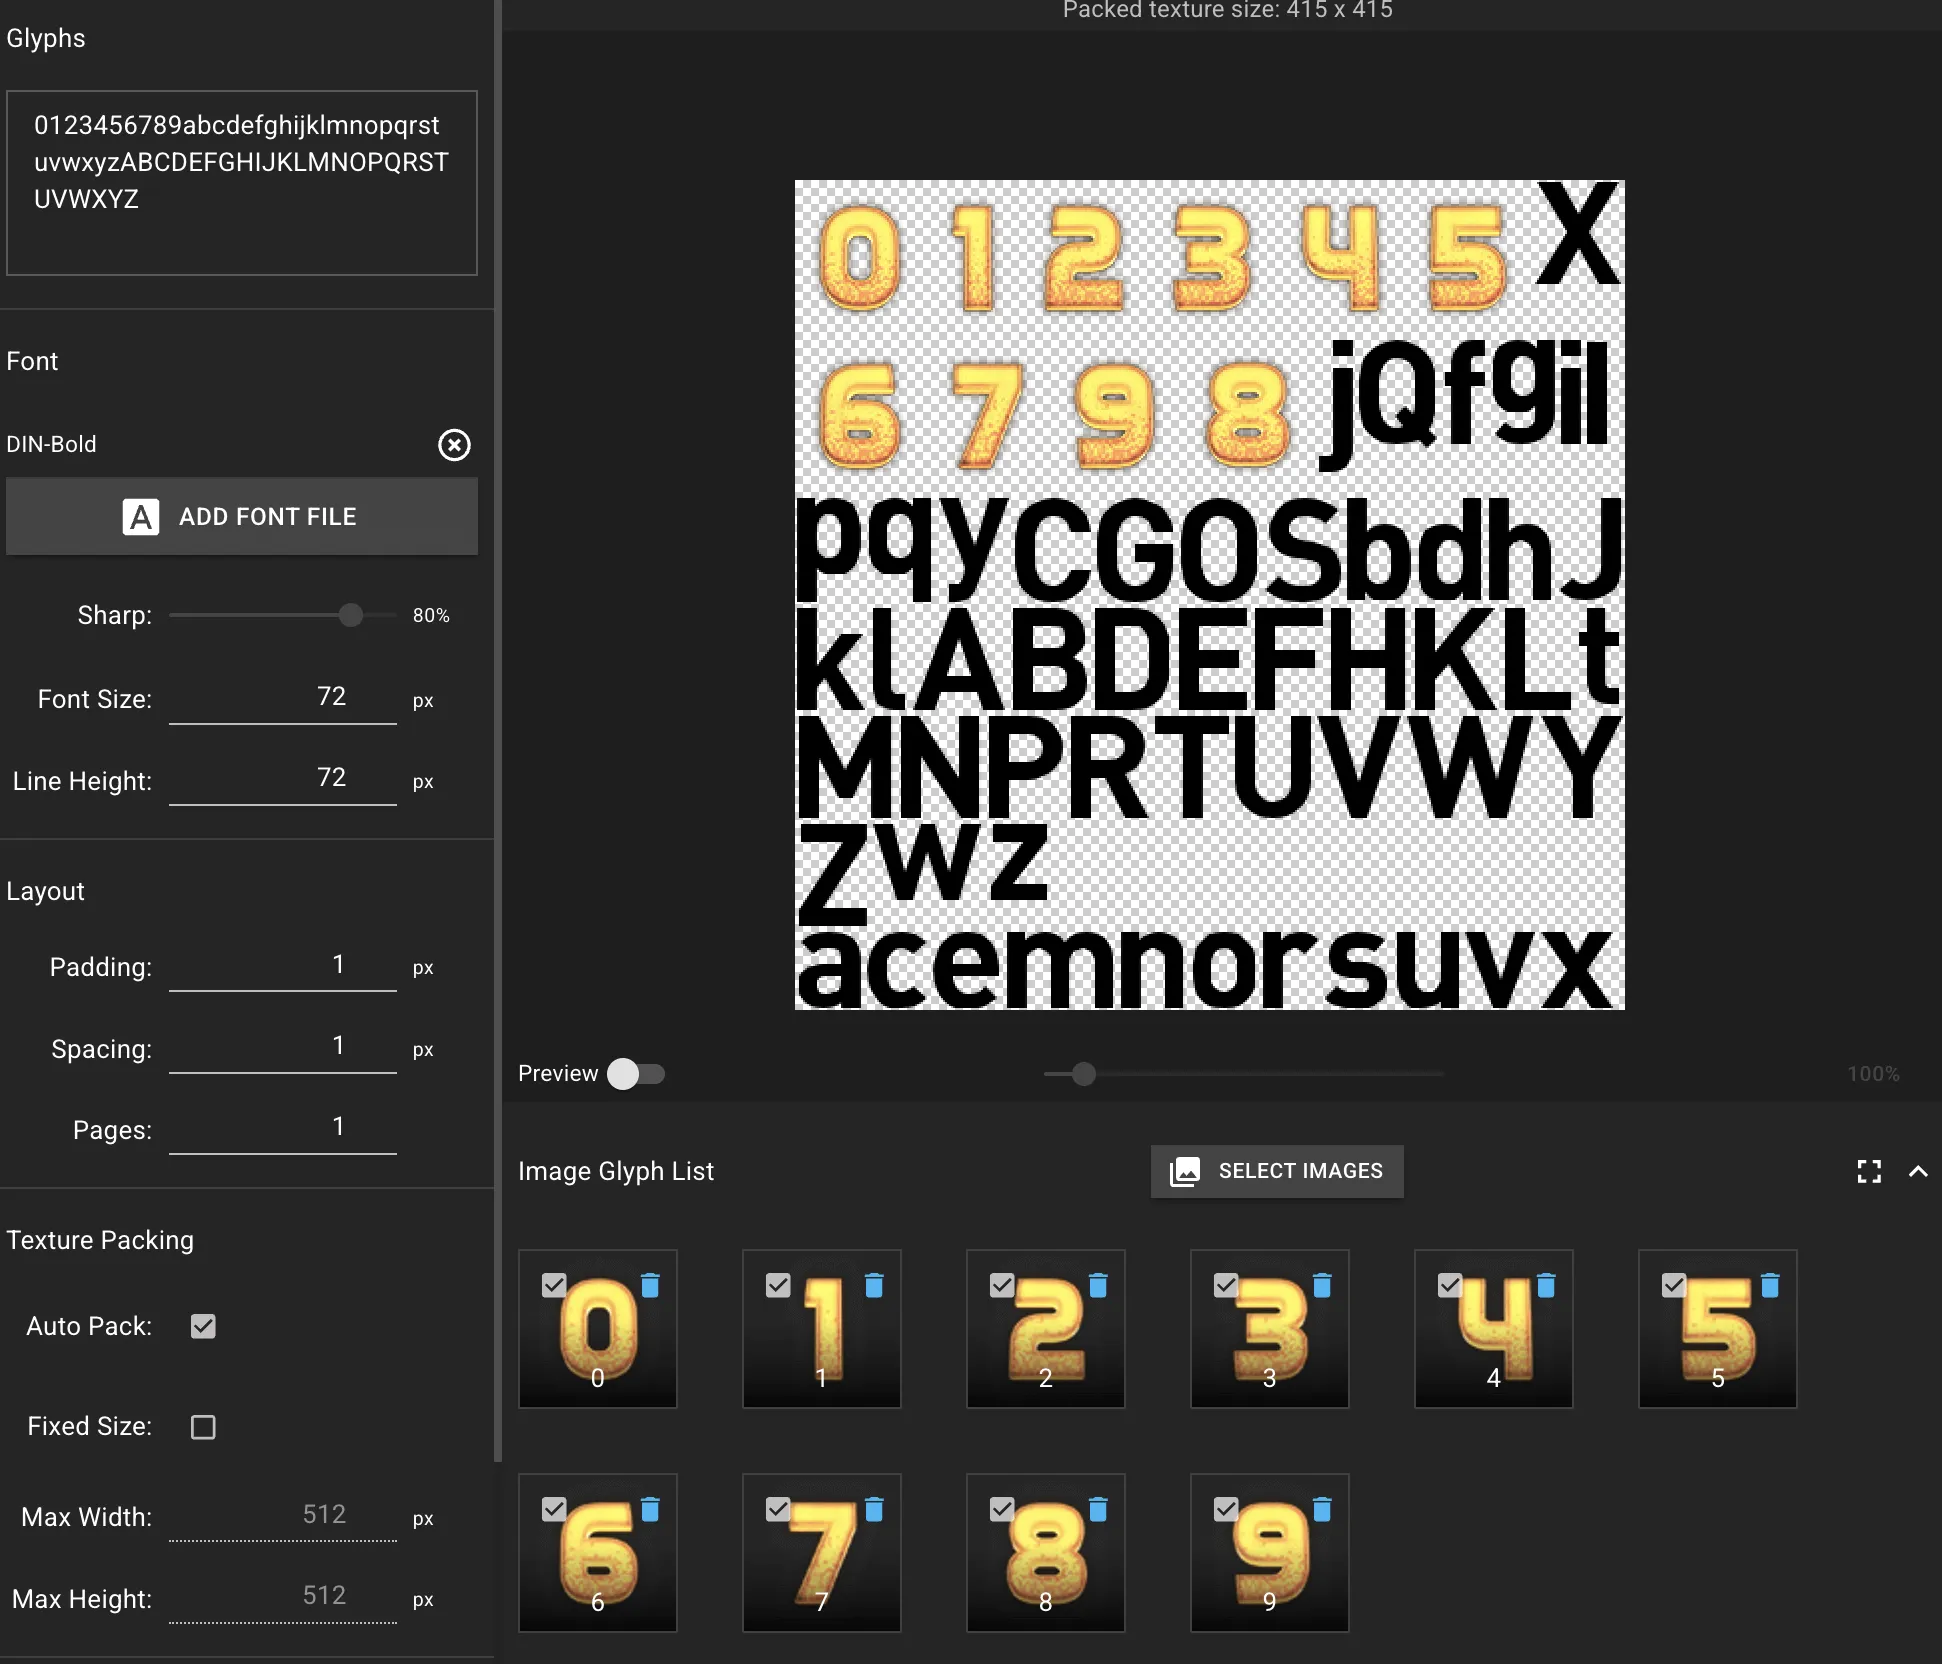
Image glyphs let you embed custom icons, symbols, or logos directly into your bitmap font. This is useful when your game or application needs visual elements that standard fonts don’t provide.
How to Add Image Glyphs
Section titled “How to Add Image Glyphs”Drag and drop images into the workspace, or use the “Select Images” button:
- Select or Drag-and-Drop image files into the image area.
- The tool processes and adds them to your image glyph list.
- Assign a character to each image.
Transparent pixels are trimmed automatically to save texture atlas space.
Drag-and-Drop Upload
Section titled “Drag-and-Drop Upload”You can drag one or multiple image files directly onto the image glyph panel. The panel accepts any standard image format and will filter out non-image files automatically. This is the fastest way to add many images at once.
Batch Selection
Section titled “Batch Selection”Click the “Select Images” button to open a file picker. The file picker supports multi-selection (accept="image/*"), so you can choose several images in one go.
Supported Image Formats
Section titled “Supported Image Formats”For best results, use formats that support transparency:
- PNG is recommended for images with transparency.
- JPG/JPEG works for solid, rectangular images.
Panel Interactions
Section titled “Panel Interactions”The image glyph panel has a few workflow features worth knowing about.
Collapsible Panel
Section titled “Collapsible Panel”The image glyph list is wrapped in an accordion-style collapsible section. Click the panel header to expand or collapse the list. When in fullscreen mode, the panel remains expanded.
Fullscreen Mode
Section titled “Fullscreen Mode”Click the fullscreen toggle button (in the panel header) to expand the image glyph panel to fill the entire screen. This is useful when managing a large collection of image glyphs.
- Enter fullscreen: Click the fullscreen icon in the panel header.
- Exit fullscreen: Click the exit-fullscreen icon, or press Escape to return to the normal view.
Managing and Assigning Characters
Section titled “Managing and Assigning Characters”Once added, you can manage each image glyph individually.
Character Mapping
Section titled “Character Mapping”To use an image glyph, you must map it to a character:
- Click the text input field below any image thumbnail.
- Type a single character (e.g.,
A,!, or any Unicode symbol). - This character now represents your image glyph.
Note: Each character can only map to one image. Assigning a character that’s already in use (either by another image or a text glyph) will override the previous one. Image glyphs have priority over text glyphs.
IME Compatibility
Section titled “IME Compatibility”The character input field supports IME for CJK and other complex scripts. During composition, the input updates locally; the mapping commits once composition ends, preventing partial or garbled characters.
Selection Control
Section titled “Selection Control”Each image glyph thumbnail has a checkbox in the top-left corner:
- Checked (enabled): The image is included in the final texture atlas and font descriptor.
- Unchecked (disabled): The image is excluded from packing and export.
Use this to quickly toggle individual images without removing them from your project.
Organizing Your Image Glyphs
Section titled “Organizing Your Image Glyphs”- Use the checkbox on each thumbnail to include or exclude an image from the final font atlas.
- Click the delete icon on any thumbnail to remove it from the project.
- The interface provides real-time visual feedback as you make changes.
Metric Adjustment in Preview Mode
Section titled “Metric Adjustment in Preview Mode”Image glyphs support individual metric adjustment in Preview mode, using the same interface as text glyphs. Select an image glyph character in the preview to fine-tune:
- xAdvance: Controls the horizontal distance to the next character.
- xOffset: Shifts the image horizontally within its character cell.
- yOffset: Shifts the image vertically within its character cell.
Integration with the Font Atlas
Section titled “Integration with the Font Atlas”Image glyphs are packed into the same texture atlas alongside text glyphs.
- Images and text glyphs are arranged together to minimize texture size.
- If an image glyph is mapped to the same character as a text glyph (e.g., ‘A’), the image glyph takes priority.
- Spacing and layout rules apply consistently to all glyphs.
Best Practices for Performance and Quality
Section titled “Best Practices for Performance and Quality”Image Preparation
Section titled “Image Preparation”- Use transparent backgrounds so images blend properly.
- Image glyphs lack a baseline, so use equal top/bottom transparent padding for vertical consistency.
- Compress images before importing to keep file size down.
- Match the visual style and resolution of your target font size.
Character Mapping & Performance
Section titled “Character Mapping & Performance”- Assign intuitive characters to your images for easier use.
- Avoid overriding essential text characters unless that’s your intent.
- Too many high-resolution images will increase texture memory usage and load times.
Exporting Your Font
Section titled “Exporting Your Font”When you export your project, all enabled image glyphs are included automatically.
- Images are rendered into the final texture sheet(s).
- Character mappings and metrics for image glyphs are saved in the font descriptor file (
.fnt,.xml, etc.). - All supported export formats include image glyph data.